How to
Sterilise Soil
Why Sterilize Soil
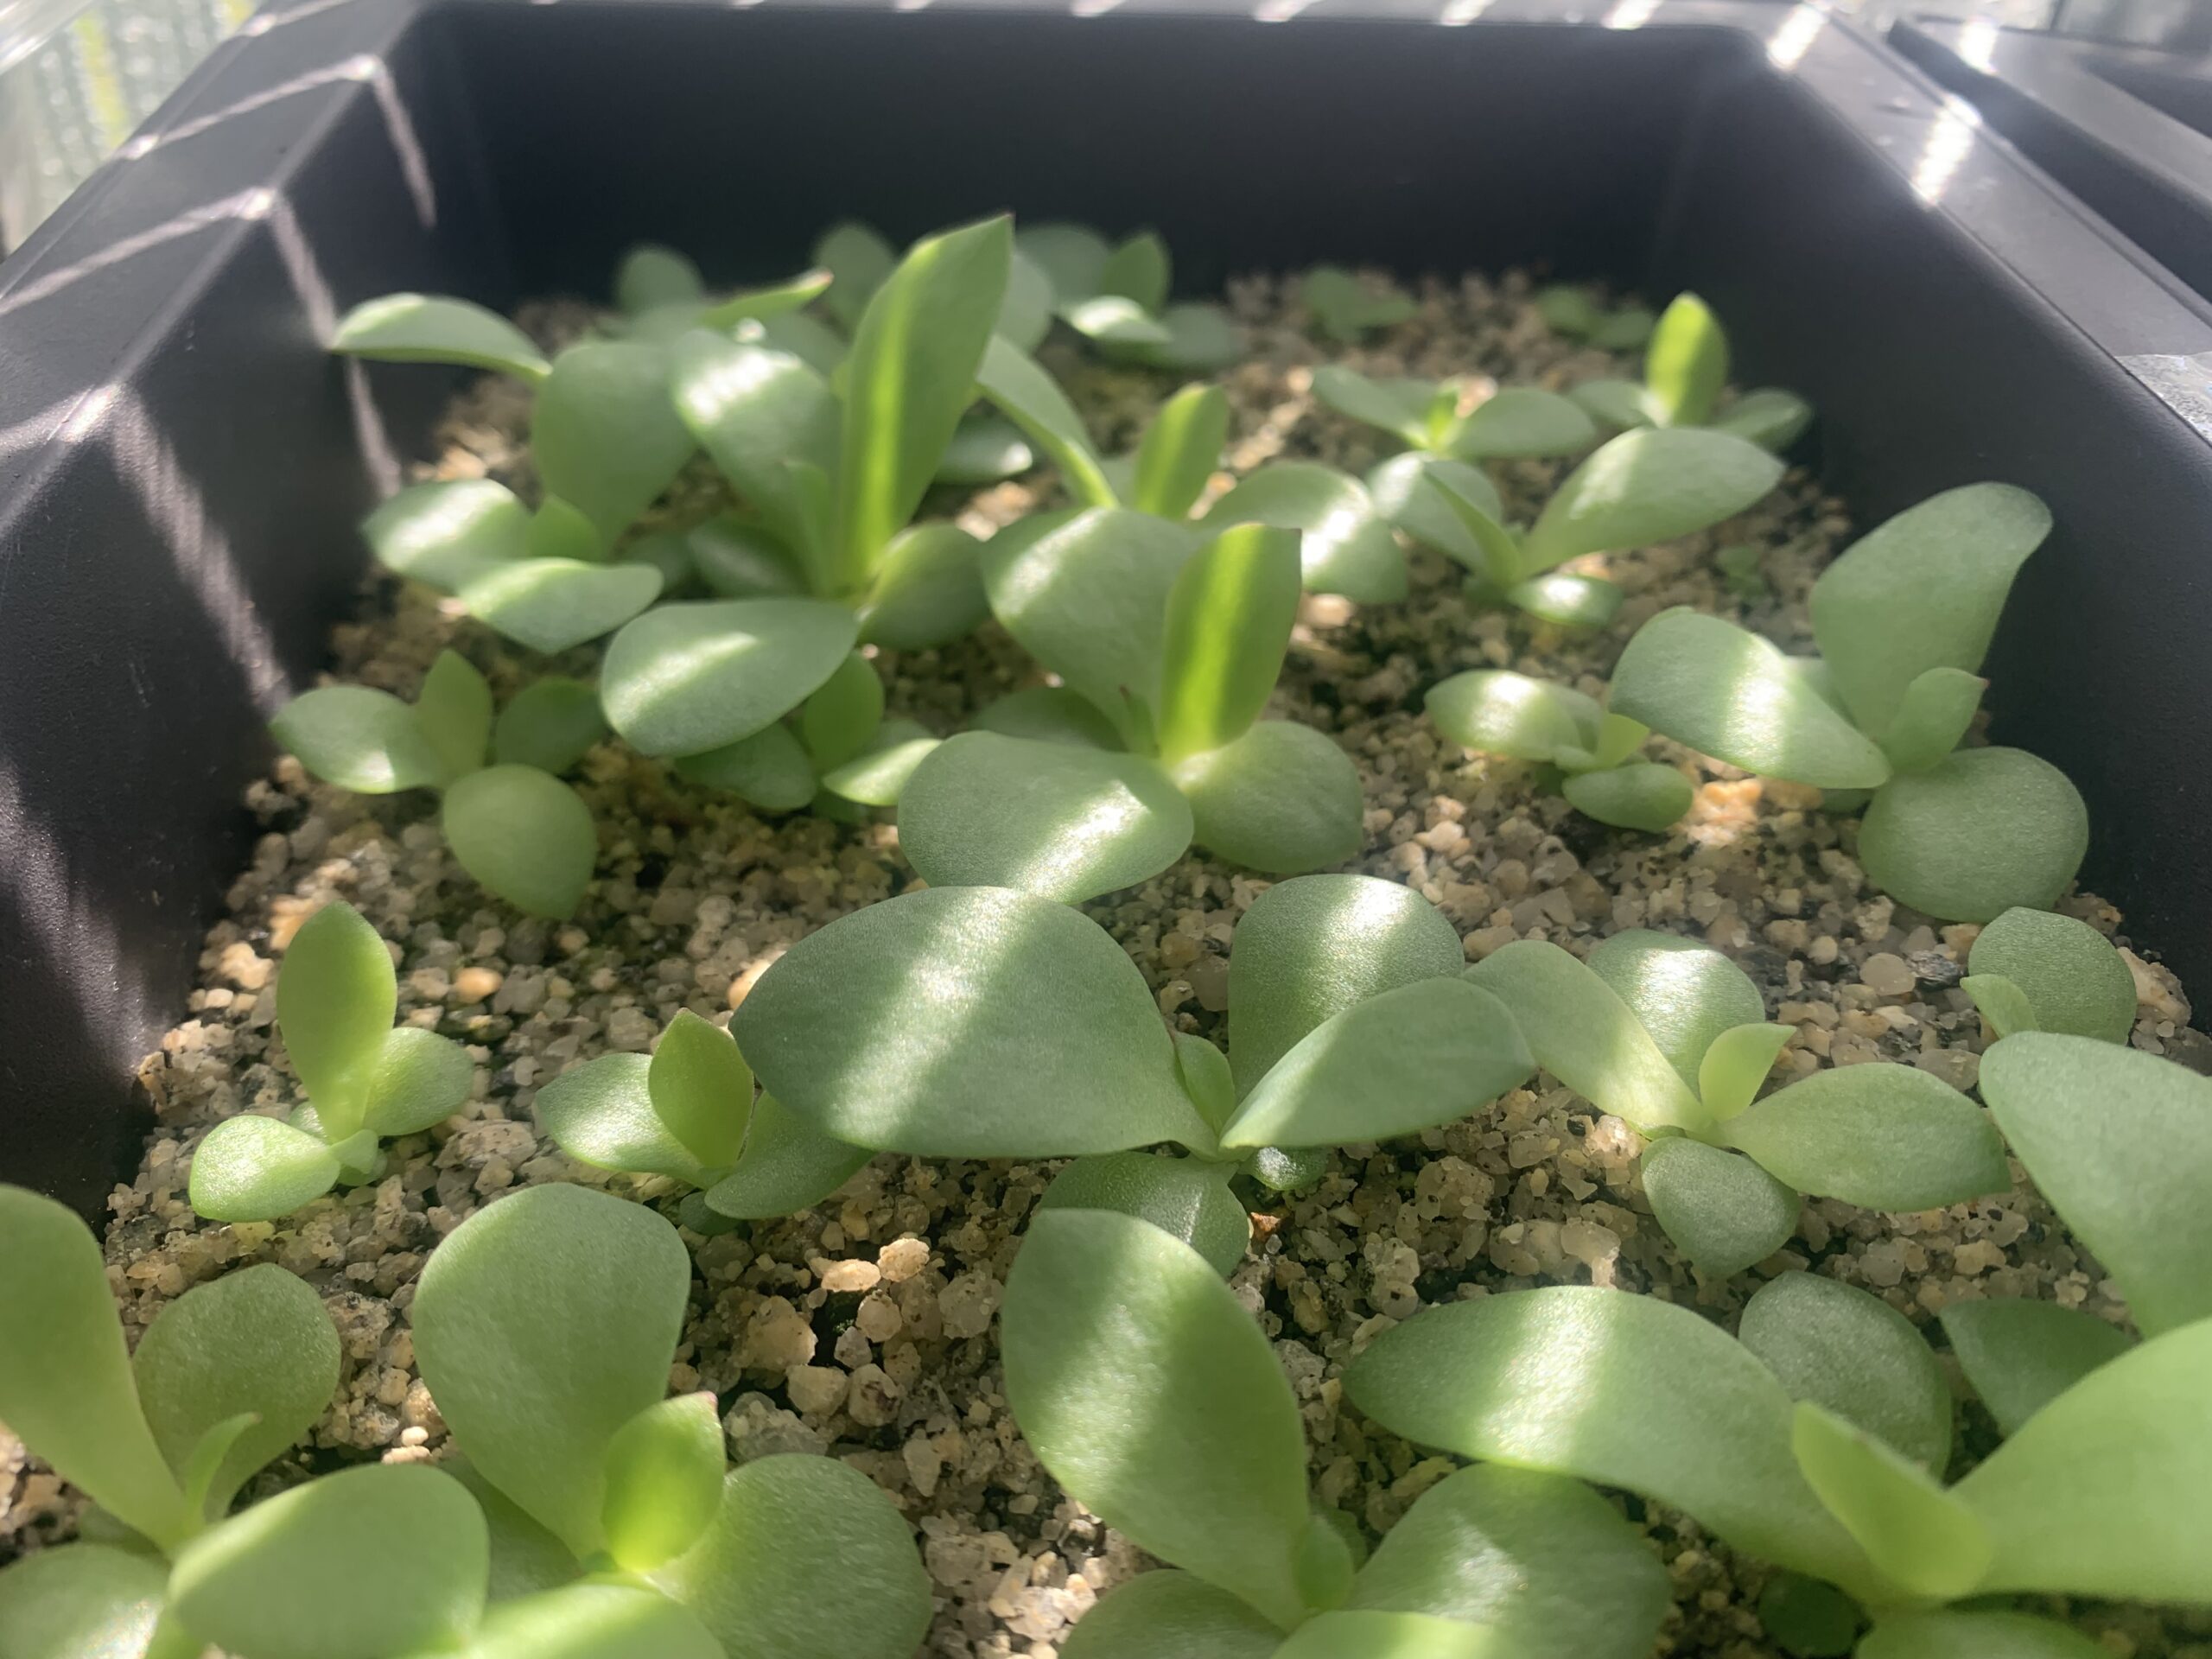
To ensure successful germination of succulent seeds, it is important to use soil that has high organic content, warm soaking temperatures, and high moisture levels. However, these conditions also make the seedlings vulnerable to soil-borne diseases like Damping-off, as well as mold and fungal spores.
(Damping-off is a deadly fungal disease caused by soil-borne pathogens that affect seedlings by attacking their vulnerable tissues, causing stem and root rot, which ultimately results in withering and death.)
To prevent this problem, it is recommended to purchase commercially sterilized compost. However, it is important to note that some compost may have drain holes on their packaging, which could cause cross-infection and allow Fungus gnats to lay eggs. The larvae of these gnats can be a major problem, as they feed on fibrous roots, leading to further complications.
To ensure the best possible plant growth, it is highly recommended to sterilize garden soil before planting, as soil can harbor diseases, pests, and weed seeds.


Soil Sterilisation
Soil sterilization is a process used to eliminate weed roots, soil mites, and other harmful pests, as well as viruses, fungi, and bacteria present in the soil that can cause damage to plants.
There are two primary methods to achieve soil sterilization: Heat Treatment and Chemical Treatment. These techniques help to ensure that the soil is free from harmful microorganisms and pests, thereby promoting healthy plant growth.
Since soil can harbour diseases, pests, and weed seeds, it’s highly recommended to sterilize garden soil before seeding to ensure the most optimal good plant growth.
Heat Treatments:
Heat treatments are used to raise the temperature of the soil gradually, creating an environment that is inhospitable for harmful organisms, weed seeds, fungal spores, and pests. This method is effective in eliminating these threats, thereby preventing damage to plants.
Methods to heat sterilize the soil: Oven sterilization, Microwave sterilization, Steam sterilization, Solarization.
Oven Sterilisation

Step 1.
Use an oven-safe container and fill it with soil up to a depth of no more than 4 inches (10cm). This ensures that the soil is heated evenly.

Step 2.
Completely moisten the soil and cover it with foil. The steam created by water helps to kill the contaminants in the soil. However, adding too much water will slow down the process.

Step 3.
Preheat the oven to 200℉/93℃ and place the container inside. Use a heat-safe thermometer to monitor the internal temperature of the soil. Once the soil reaches a temperature of 180 ℉ (82 ℃), bake for 30 minutes with the door closed.

Step 4.
After 30 minutes, remove the container from the oven and allow it to cool down to room temperature. Once the soil has cooled down, it's ready to use for planting.
Microwave sterilization

Step 1.
Before starting, carefully inspect the soil to ensure that there are no metal pieces in it that could cause sparking in the microwave.

Step 2.
Fill a clean, microwave-safe container (or a zip-top plastic bag) with moist soil. Lids are preferable, (Not foil!) but do not fully close the container or add a few ventilation holes in the lid to allow steam to escape and prevent pressure build-up.

Step 3.
Place the container in the middle of the microwave and use full power to heat it until the soil reaches a temperature of 180 ℉ (82 ℃) to 200℉ (93℃).

Step 4.
Once the desired temperature is reached, carefully remove the container from the microwave and close the lid. Allow it to cool down until it reaches room temperature before using it for planting.
Solarization

Step 1.
Put the soil in a clear or transparent plastic bag. Black plastic should be avoided because it reflects some of the solar energy instead of trapping it like clear plastic does.

Step 2.
Lay the bag flat on the ground where it can absorb strong sunlight. It is important to spread the soil in the bag in a thin layer to increase the success rate and speed up the processing time.

Step 3.
The actual processing time of this method will depend on the intensity of the solar irradiance and solar temperature. At least 3 days are needed under strong sunlight to effectively kill the harmful microorganisms and pests in the soil.
Steam sterilization
Steaming is an effective way to sterilize soil, and it can be done with or without a pressure cooker.
However, if you choose to use a pressure cooker, it is important to follow all the manufacturer’s safety precautions and handle it with care.

Pressure Cooker Method
Note: For this method, you will need a pressure cooker with a rack, heat-proof containers that are safe for use in a pressure cooker, moist soil, aluminum foil, and water.
Be sure to follow all safety precautions and the manufacturer’s instructions for your pressure cooker.
- 1. Choose a safe location for the pressure cooker.
- 2. Add a couple of cups of water to the pressure cooker and insert the rack.
- 3. Fill heat-proof containers with no more than 4 inches (10 cm) of moist soil and cover them with foil.
- 4. Place the containers on the rack inside the pressure cooker. Close the lid and leave the steam valve slightly open to allow steam to escape. (Follow the manufacturer's instructions for building up steam inside the cooker.)
- 5. When the steam valve closes, process the soil at 10 pounds of pressure for 20 to 30 minutes.
- 6. Turn off the heat and allow the pressure to subside completely before removing the lid. Wait until the soil has cooled to room temperature before using it for planting.
Non-pressurized method
Note: To use the Non-pressurized method for sterilizing soil, you will need a large pot with a lid, heat-proof containers, moist soil, aluminum foil, and water.
- 1. Fill a large pot with about two inches (5cm) of water and place a wire rack inside. The rack should be high enough that the bottom of the heat-safe container does not touch the water.
- 2. Put a heat-proof container with no more than four inches deep soil on the rack. It's important not to fill the container too full to ensure that the soil is heated evenly.
- 3. Cover the container with foil. This will help trap the steam and heat inside the container.
- 4. Place the lid on the pot and turn the heat to high. Allow the pot to come to a boil.
- 5. Once the pot is boiling, reduce the heat to medium and continue boiling for 40 minutes. It's important to maintain a steady boil throughout the entire process to ensure that the soil is heated properly.
- 6. After 40 minutes, turn off the heat and remove the pot from the heat source.
- 7. Carefully remove the container of soil from the pot using tongs or oven mitts. Be careful not to burn yourself.
- 8. Allow the soil to cool completely before use. Once it has cooled to room temperature, it is ready to be used for planting.

Note:
These methods may produce an unpleasant odor during the sterilization process, so it is important to have adequate ventilation in the area where you are performing them.Keep windows and doors open if possible, or use a fan to help circulate the air. If you have respiratory issues or are sensitive to strong odors, it is recommended to wear a mask or perform the sterilization process outside.
